
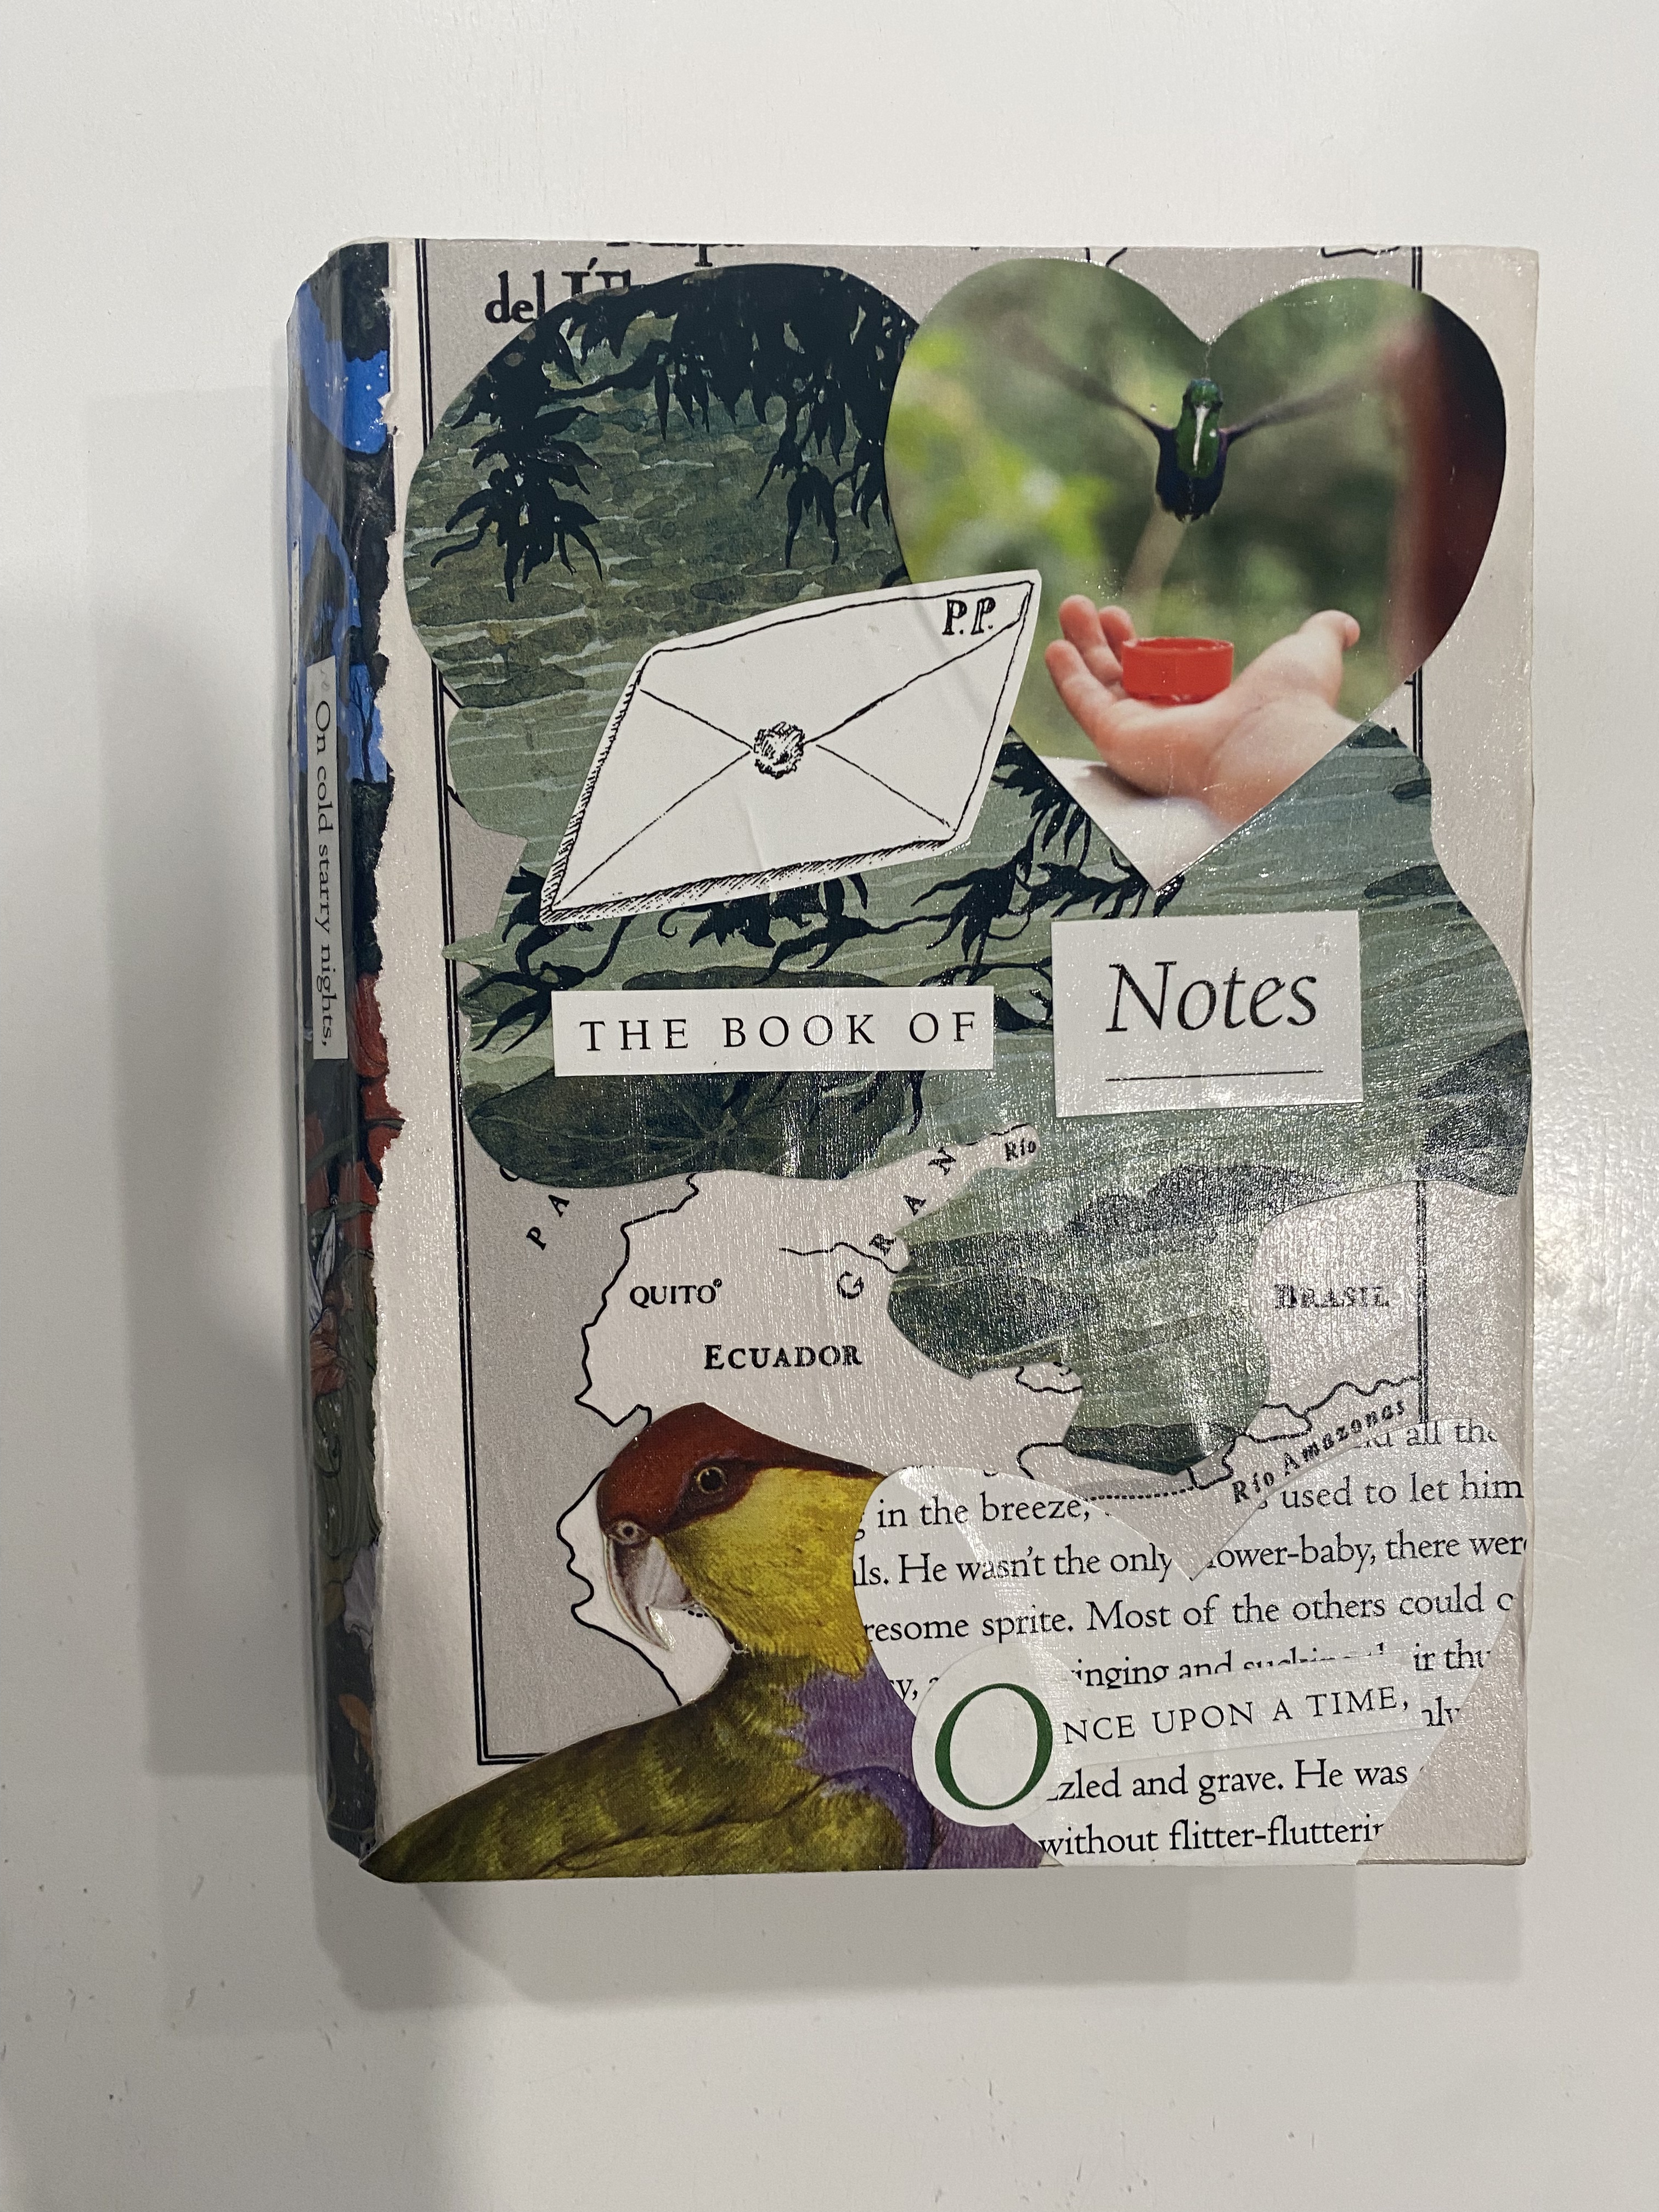
Creating your own sketchbook for an art class has many benefits. By designing your Sketchbook, you can customize it to meet your needs. Choosing what size it is, how many pages it holds, and what type of paper it holds. This is especially helpful when you want to carry a diverse range of paper without the weight of multiple sketchbooks. You can choose how you organize your paper and sections of your book using signatures. Signatures are a group of sheets folded in half, to be worked into a binding unit. The process of creating a book is an artistic process of its own and will leave you with a feeling of accomplishment and attachment to your sketchbook, which can inspire you to create artwork. While there are many different techniques and styles of bookmaking, I will walk you through a simple process using the pamphlet stitch, a three-hole technique, to create a mini 12×7 sketchbook with 3 signatures, grouping 4 pages each.
MATERIALS
- 12’’x7’’ book board or cardboard (chipboard) for the cover- for this book I recommend using recycled cardboard from the back of a sketchbook.
- 12 sheets of 10’’x7’’ paper for interior pages- Pick any variety or material of paper you prefer to work on. (they will be grouped in sets of 3 to create the signatures in your book)
- scissors
- bone folder (you can substitute a wooden ruler or ID card for this)
- Pencil
- Ruler or mark-making paper (to create even spacing and holes for your signatures)
- Awl, or a small, pointed tool used for piercing holes.
- a needle and thread – I recommend using a curved needle and waxed bookbinding thread (approximately. three times the height of your book, 21 inches long)
- Optional: Binder Clips for holding paper in place

INSTRUCTIONS
Step 1
Creating your signatures: Group your 12 pages into sets of 3, holding 4 pages each. These will make up the 3 signatures of your sketchbook. Using your bone folder, fold each paper in half horizontally. Nest your 4 pages together to create one signature.

Step 2
Forming the covers and spine: Using a ruler, measure 5 inches horizontally from the right side of your book to the inside. Using a pencil create a vertical line marking this measurement from the top of your book to the bottom. Repeat this on the left side. You should be left with your piece of cardboard divided into 3 parts: the cover, spine, and back cover of your book. Use an awl or scoring tool and ruler to start the bend that will help your book take shape. You can use the bone file to go over this line until you can get the cardboard to bend neatly.

Step 3
Preparing your binding for signatures: The spine of this book is 7 inches tall and 2 inches wide. To ensure the holes you make are evenly spaced and centered in the book, you can either measure out the distance for each hole or you can create a paper template.
Using a ruler: The top 3 holes will be 2 inches from the top, the center holes 3 1/2 inches from the top and the bottom holes will be 5 inches from the top. The center signature will be centered on the spine at the 1-inch mark (if you were measuring across the 2-inch spine). The two other signatures will go on opposite sides of the center signature. Measure ½ inch inward from each end of the spine. These points mark where your 1st and 3rd signature will go.
Using a paper template: If you don’t have a measuring tool an alternative way to figure out where to place your holes is to cut a piece of paper the size of the spine, 7×2 inches, and create even creases or folds to mark where you will punch your holes: Fold your paper in half horizontally away from you, then fold the top fold in half towards you evenly and horizontally, turn it over, and fold the bottom half towards you evenly and horizontally. Unfold your paper. (your paper should look like a zigzag or accordion form when you unfold it). Now fold the paper in half vertically and unfold it. (The crease mark you just made will serve as a marking point to make your next two vertical folds). Fold each vertical end of your paper inward until they reach the center crease line you just made and unfold them. Your paper should contain 16 rectangles with 9 intersecting points. These points mark where your hole punches will go.

Step 4
Punching holes in binding and signatures: Use the markings you made with the ruler or folded paper template to punch holes through the spine for your signatures. If using the paper template, place it on the spine (using binder clips to hold it in place if you like) and make the holes directly through the paper template, piercing through to the outside of the book. Transfer these holes to the signatures by aligning the center spread with the hole template or book binding holes and punching through.


Step 5
Make your 3-hole Pamphlet stitch: Align your signature to the holes of the spine marked for your signature. Pull your thread through the eye of your needle, do not tie a knot on the end. Thread into the center hole, leaving a tail of thread in the center, you can use a binder clip to secure the tail while you sew. Threading from the outside inward, thread another hole into the top of your book. Skipping the middle hole, thread into the third hole on the opposite end of the book (from inside to outside). Finally, you will go back into the center hole, and double tie your thread, leaving about a half inch left over on each end (in case you need to rethread your book later). Repeat this process for the remaining signatures.


Step 6
Decorate: Personalize your book by decorating it to reflect you. For my sketchbook, I chose to create a collage utilizing some old books and photography of mine. I used Mod Podge to seal and protect my design as well as adding structural integrity to my spine.


Additional Resources for Book Making
The Art of the Fold by Hedi Kyle and Ulla Warchol https://www.artofthefold.com/
How to make books by Esther K. Smith https://www.penguinrandomhouse.com/books/169001/how-to-make-books-by-esther-k-smith



Leave a Reply